How the letters were chosen
S and A are the large printed multipliers, with Glass penalized only by breaking on hit and Forge rewarded for scaling. B is a real upside with a catch, such as crumble, harder breaks, or a proc. C is a small common multiplier. Ragdolls are not tiered, because each next body is described as paying more base Cash.
S tier
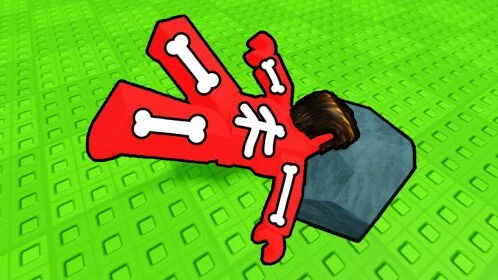
Player decision Take Glass when you want the largest printed multiplier and can accept the bone ending on impact.
A tier
Player decision Prefer Ghostglass over Glass if you want several hits before the bone is gone.
Player decision Worth more as you own several Forge bodies. On one ragdoll the bonus is small.
B tier
Player decision Use Plant on long obstacle routes. A short drop will barely grow the bonus.
Player decision A common 1.5x result. Keep it until you roll a clearer multiplier.
Player decision Only lean on Titanium if your route already breaks bones easily.
Player decision Keep Spark when you want extra break procs and you do not have Glass or Ghostglass.
Player decision Useful on routes that reliably pass 25 breaks. A short fall may never trigger it.
Player decision Ignore Frog until you have rebirthed. The jump may add collisions; that is not quantified.
C tier
Player decision A safe early roll. Replace it when you hit Glass, Ghostglass, or a scaling material.
Player decision Use Rubber if the extra bounce sends you into more obstacles. Drop it if you fly off the course.
Player decision Treat Bronze as a temporary roll while you save for the next ragdoll.